 --> (Word) --> (Word) |  --> (PDF) --> (PDF) |  --> (Epub) --> (Epub) |  --> (Text) --> (Text) |
 --> (XML) --> (XML) |  --> (OpenOffice) --> (OpenOffice) |  --> (XPS) --> (XPS) | |
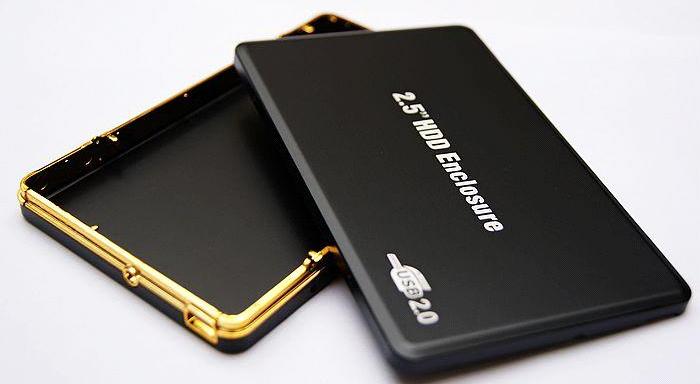
In case you replaced your [gs laptop] or desktop hard drive with a new SATA harddrive, what you do with your old 2.5 HDD ? Well, instead of throwing it out or selling it at the cheap rate, you can easily convert it into Portable HardDrive. By buying a simple external [gs enclosure], you can recycle your hard drive.
First of all make sure your Hard Drive is SATA or IDE, and accordingly buy an external enclosure. Once you bought the enclosure, follow these simple steps to install your hard drive:
- Using a screwdriver, remove the screws to open your case.
- Remove the cover.
- Insert and then plug the hard drive on the S-ATA box.
- Depending on your case, it may be that you have to attach the hard disk to the housing so it does not move.
- Close the box.
- Screw it. And now, you have a portable external hard drive!
Connect the external hard drive to the computer:
Before you can copy files to your external hard drive, you need it to be repartitioned and formatted. Here is how to do that:
- Plug the power cable to the back of the limp and then connect your hard drive to your [gs computer] using the supplied USB cable.
- Windows detects and automatically installs the new USB device.
- If the drive had several partitions, they all appear in Windows Explorer.
- If you want to delete all [gs partition]s to have one, click the right mouse button on the Computer icon in the Start menu and click Manage.
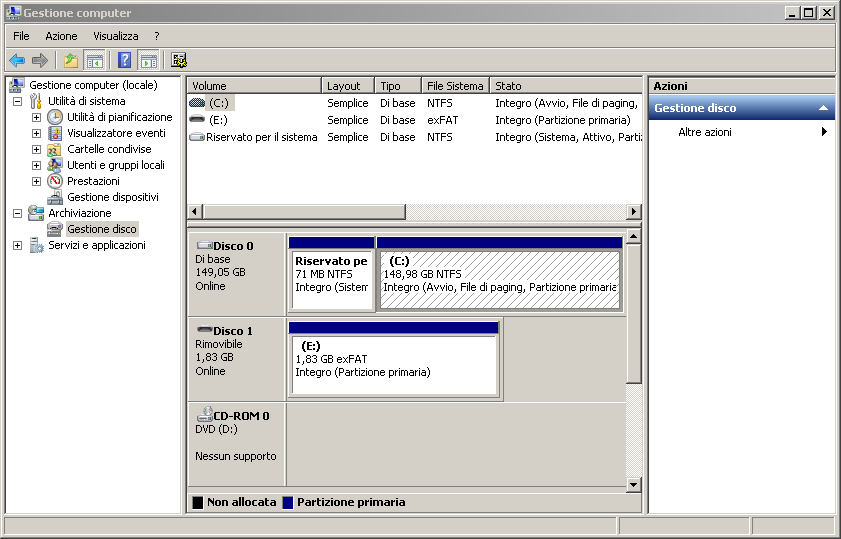
- In the window management of the computer that appears, unroll the item Storage then click Disk Management.
- In the list below, identify your portable external hard drive. The list of all partitions in it is displayed.
- Click the right mouse button on the first partition on that drive and click Delete Volume and then YES.
- The space goes into "unallocated".
- Repeat for other partitions on that disk. The unallocated space will increase accordingly.
- In the case of an extended partition, right-click the right mouse button and click Delete Partition. Confirm with Yes.
- Note that it may be a space of a hundred MB reserved for the system that you can not delete.
- Finally, click on the unallocated space freed with the right mouse button and click New Simple Volume.
- In the wizard that opens, click Next.
- Specify the size of the new partition, the maximum size available here. Click Next.
- Choose the letter of the [gs explorer] to assign to the hard drive and click Next.
- Then choose to format the drive to NTFS, give it a name, uncheck the Perform a quick format to verify the same time the integrity of your hard drive and click Next.
- Finally, click Finish.
- Preparing your hard drive begins.
- After few minutes, the operation is complete.
- Your external hard drive can now be used. It appears in Windows Explorer.
SOURCE | LINK (Techarena.in) | LANGUAGE | ENGLISH |


