To totally unlock this section you need to Log-in
Login
Administrative requirements
To send as a distribution group in Office 365 (Exchange Online) the admin will need to create a group and grant the user the necessary permissions.
Login to Admin Portal with a valid admin account.
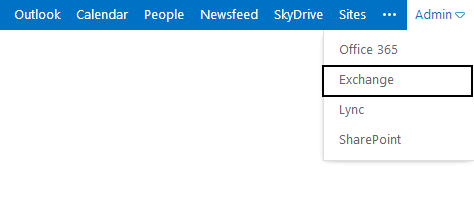
Click the Admin drop down menu in upper right or, in the new interface in lower left,and click Exchange.
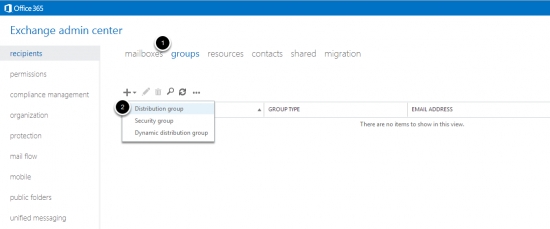
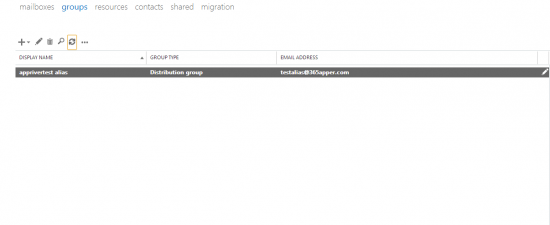
Click groups from top menu. Click the + button and choose Distribution group (to create a new group if you need).
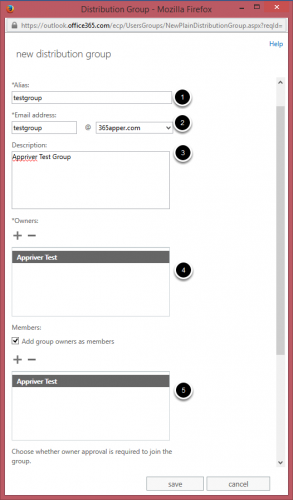
- Type display name. This will be visible in admin portal when looking at address book. Its recommended you name it something you can easily recognize. Type a username alias.
- Type Alias.
- Type desired Alias Email Address.
- Set Owner. You can leave it as the admin or change it to another user.
- Add the the members you would like to be part of this groups distribution.
- Click Save when finished.
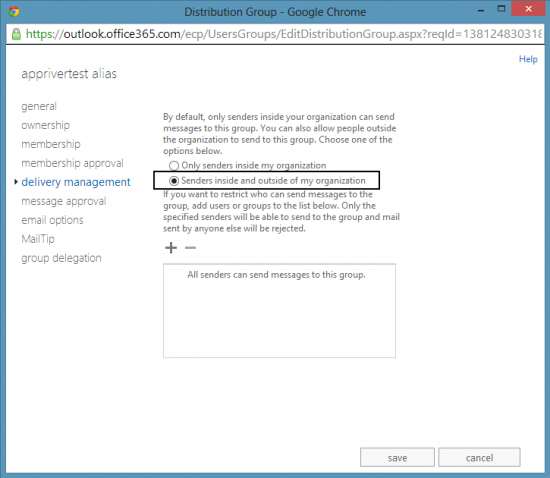
Double click on your new group to open his Properties:
Click on Delivery Management from menu on left. Then select Senders inside and outside of my organization. This will allow users from outside your domain to email this address.
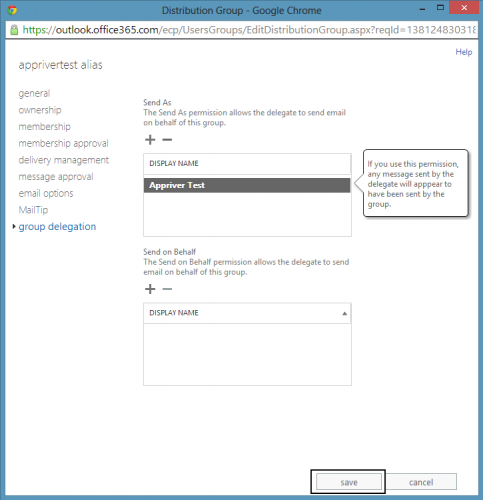
- Click on Delegation from menu on left.
- Click the + button under Send As and add the user who you would like to be able to send as this group.
- Click save when finished.
The group and the necessary permissions have been setup. The user will now be able to compose new emails messages and send as the group.
New e-mail as the Distribution Group (Outlook)
Enable show From field: in Outlook 2007, 2010 & 2013: Open new message, click on Options tab and in the Fields section click Show From.
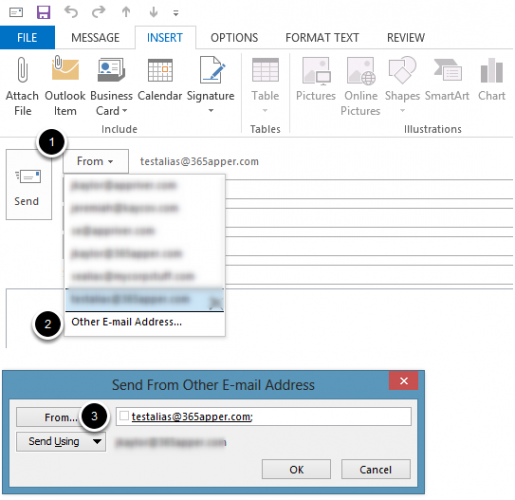
- Click the From field drop down menu.
- Select Other email address...
- Click the From... button and select the Global Address List. Find the group you created and double click this group.
- Click Ok when finished. You will see the alias address listed in the From field.
- Compose and send your email from your alias group address.
 |  |
Let’s see how to configure a distribution group on Office 365 (Exchange Online) to let users to send e-mails as the same distribution group (as it was a common mailbox) and hide personal names of his members. (http://heelpbook.altervista.org/2017/sending-distribution-group-office-365/)