Symptoms
- Cannot power on the virtual machine.
- Powering on the virtual machine fails.
You see the error:
Unsupported and/or invalid disk type
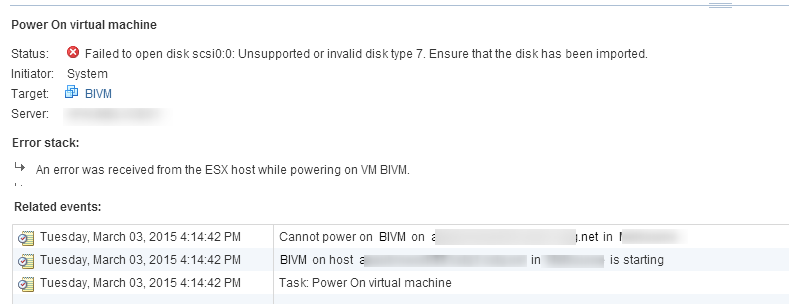
In the Events tab on the ESXi hosts or vCenter Server, you see the error:
Module DevicePowerOn power on failed.
Unable to create virtual SCSI device for scsi0:0, '/vmfs/volumes/datastorename/VirtualMachineHome/VirtualMachineDisk.vmdk'
Failed to open disk scsi0:0: Unsupported and/or invalid disk type 7. Did you forget to import the disk first?
Cause
This issue occurs if a virtual machine that is meant for VMware Hosted products such as VMware Workstation, VMware Player or VMware Fusion is powered-on on an ESX/ESXi host.
The underlying format used to store virtual machines on VMware Hosted products differs from the format used to store virtual machines on ESX/ESXi hosts.
Resolution
To import a virtual machine stored on a VMware Hosted product to an ESX/ESXi host, the virtual machine should first be converted using VMware vCenter Converter. For more information on conversion, see the VMware vCenter Converter documentation.
Alternatively, to work around this issue in ESXi 5.0 and earlier versions, reformat the VMDK using the vmkfstools command, detach the currently attached VMDK from the virtual machine and then reattach it:
First, connect to the ESX/ESXi host via SSH.
Run this command:
vmkfstools -i HostedVirtualDisk ESXVirtualDisk
Where HostedVirtualDisk is the path to the vmdk on the host and ESXVirtualDisk is the vmdk to be output by the command.
For example:
vmkfstools -i /vmfs/volumes/datastore/virtual_machine_folder/ virtual_machine.vmdk /vmfs/volumes/datastore/new_virtual_machine_folder/ virtual_machine.vmdk
Detach the currently attached VMDK from the virtual machine:
- In the vSphere Client or vSphere Web Client, right-click the virtual machine and click Edit Settings.
- Select the hard disk.
- Click Remove.
- Select the Remove from virtual machine option.
- Click OK.
Reattach the newly formatted VMDK :
- In the vSphere Client or vSphere Web Client, right-click the virtual machine and click Edit Settings.
- Click Add.
- Select the hard disk.
- Click Next.
- Select the Use an existing virtual disk option.
- Click Next.
- Click Browse and locate the new VMDK .
- Click Next.
- Click Next.
- Click Finish to close the Add Hardware window.
- Click OK to close the Virtual Machine properties window.
- Power on the virtual machine.
 |  |